Once the tearout is complete and everything is cleaned up, the first thing to do is plumbing. If you are changing the shower valve or adding a handheld or body sprayers, this is the right time. Always be sure to pressure check before proceeding to the next step. It's always a good idea to snap a few pictures of the plumbing in case there is an issue later, paper never forgets, nor do pictures.
The next step is to add blocking for the water proof membrane.


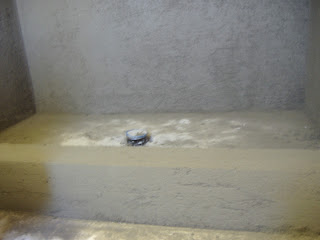
 I like to put up black paper for extra support for the waterproof membrane. A very important step missed by many, is to preslope the floor to the drain. The drain has weep holes to allow water that makes it's way thru, to drain out of the pan. If the floor is not sloped, or the weep holes not opened, the pan will fill with water.


 |
 |
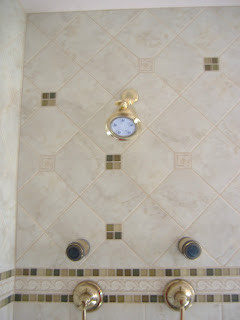
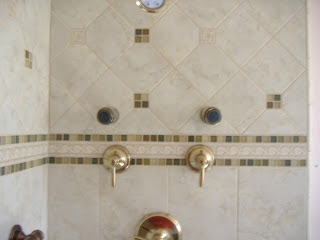
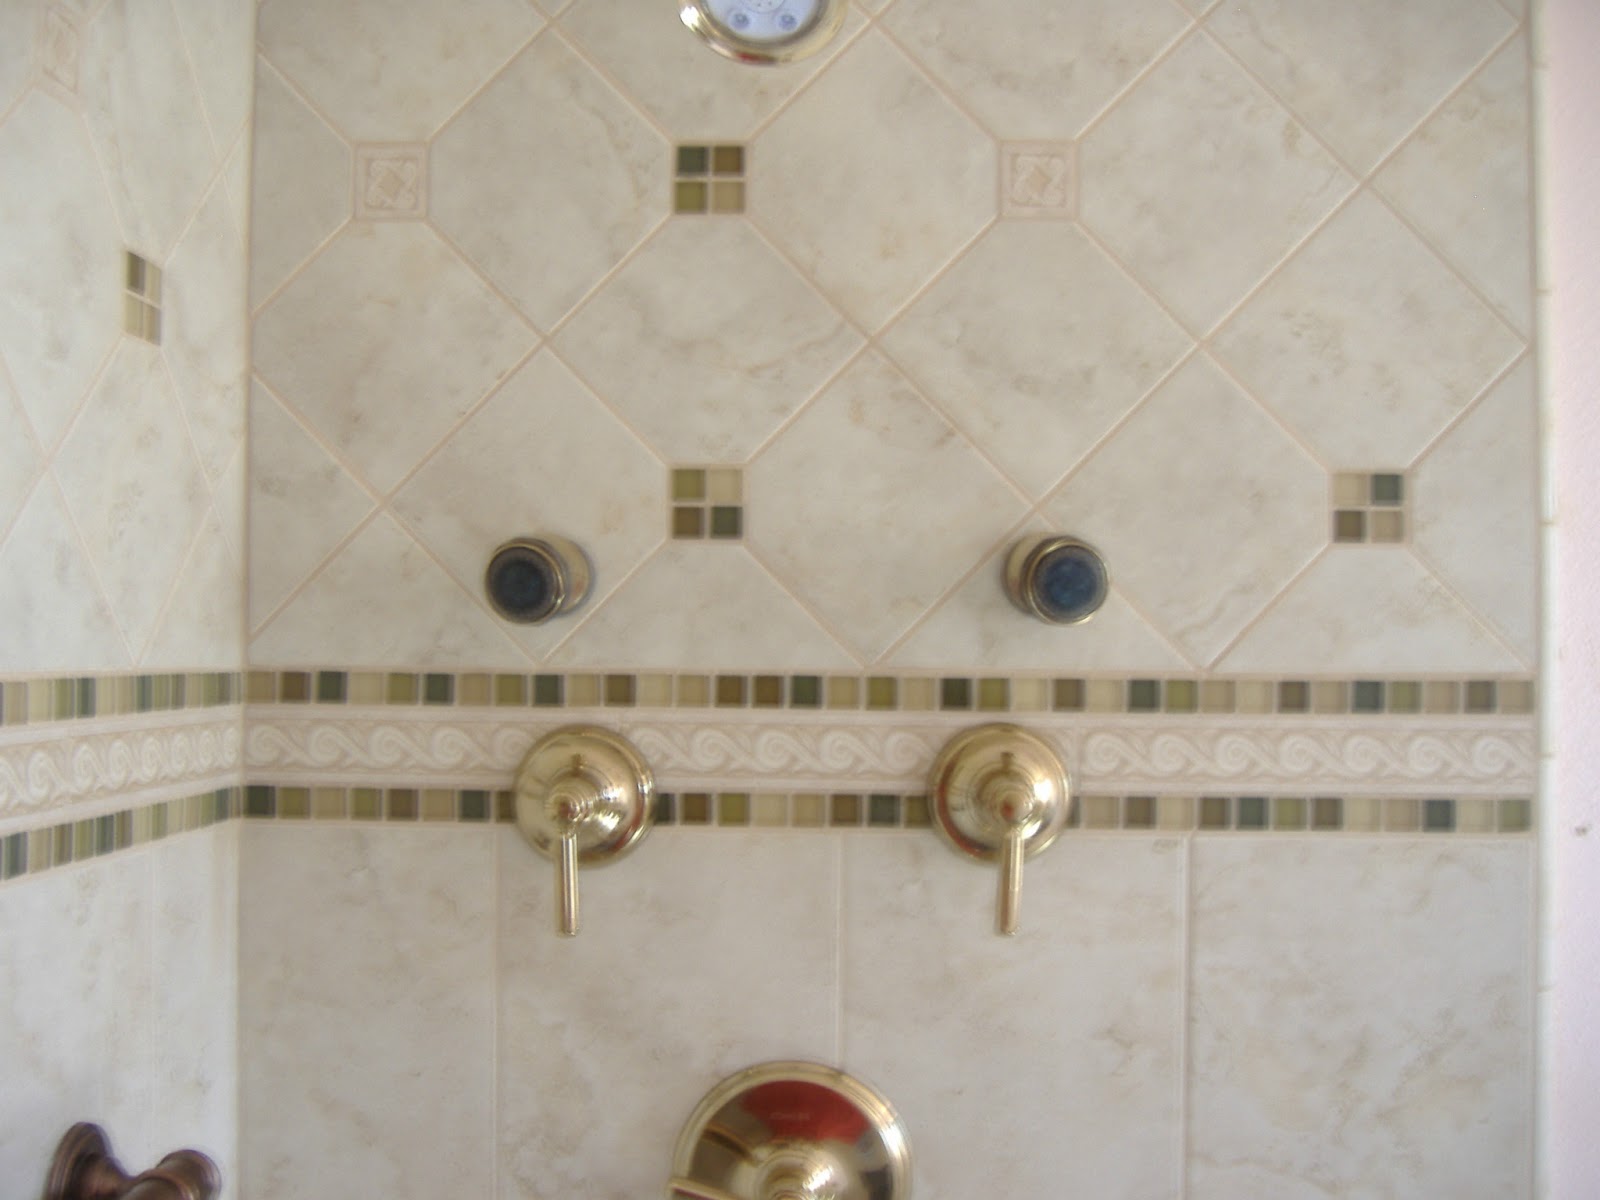
| This shows the control valve, the two black valves are diverters for the shower head and three body sprayers ( gray stubs)
|
The next step is to add blocking for the water proof membrane.


Now the waterproof membrane is installed. This is a 40 mil liner, similiar to a doughboy pool liner. It is very important to be very, very cautious not to put a hole in this, no nails below the height of the dam. I always put, cardboard or roofing felt to protect the liner.


15 lb roofing felt is applied to the walls, starting at the bottom working to the top. Overlap at least two inches, be careful in the corners, even a small hole can be a problem. Don't cheap out on the felt, it's harder to work with, but is worth it, I've seen the lighter weight stuff dissintergrate after just 10 years, making it necessary to replace the shower due to water damage. Once the roofing paper is up use 2.5 lb metal lath, starting at the bottom working up, the lath has an up and down side to it. If you look at it there are little cups, they should face up so when mud is applied it will rest in these cups, instead of sliding off. Use at least a 1 1/4 inch roofing nail, nailing every 6 inches. Don't nail too tightly, barely touch the wire so it has some room for expansion and contraction.


The next two steps are done on two different days. First the scratch coat, this this a thin coat about 1/8 of an inch thick, fully covering the wire. I like to take the extra mud an cover the waterproof membrane to protect it on the next step, which is to float or brown coat. This makes the walls plumb, flat and square. Redwood strips are used as screeds, set in a thin layer of mud, then plumbed. Strips are set 2 per wall as far apart as straight edges will reach to screed mud off. When the process is complete, the strips are removed, then the walls should set for a short period of time to firm up, then rubbed down with a neoprene or wood float. When this has set for another hour or so, depending on weather conditions, it should be ready to set tile on.


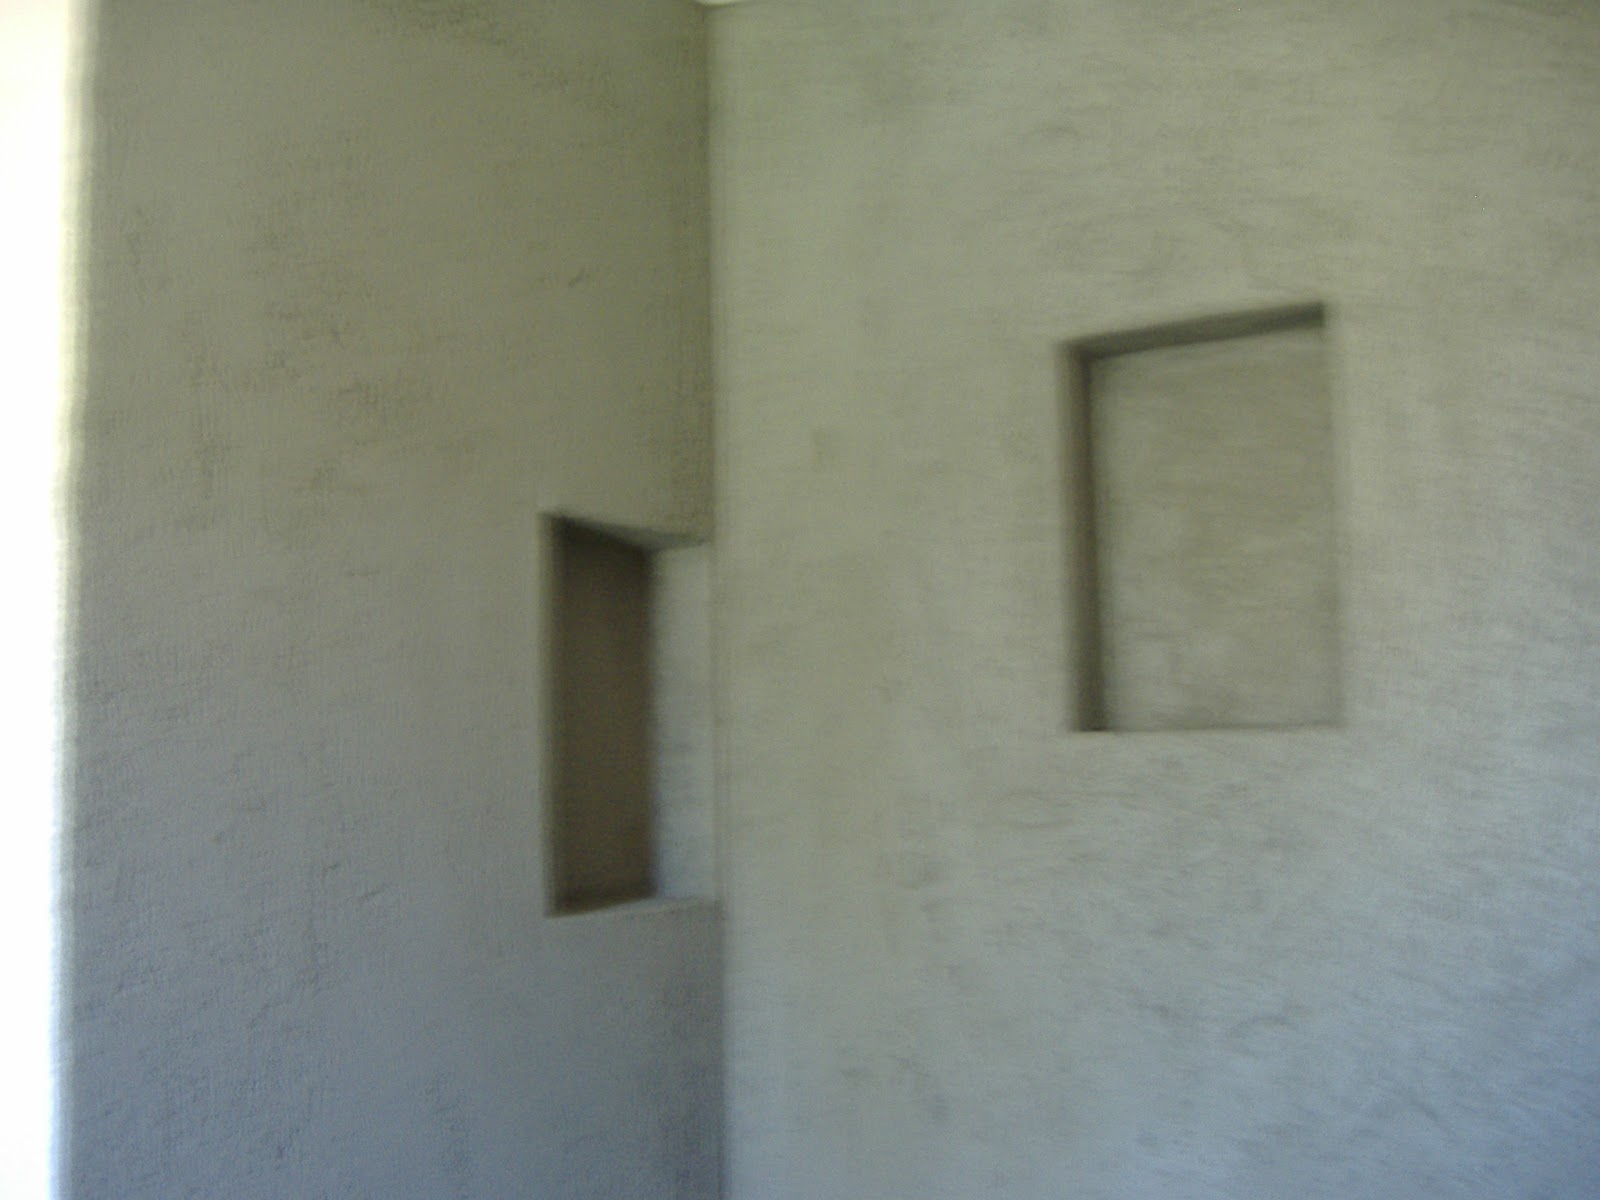
Now it's time to tile, lay out the tile on the floor to determine cuts and heights for accents, soap boxes etc.This shower has the bottom courses straight, then an accent stripe, then a smaller module on a diagonal with inserts randomly placed throughout. After the walls are set the floor is floated and set. Alot of home shows start by tiling the floor, the cart before the horse. It is better to always work your way out.


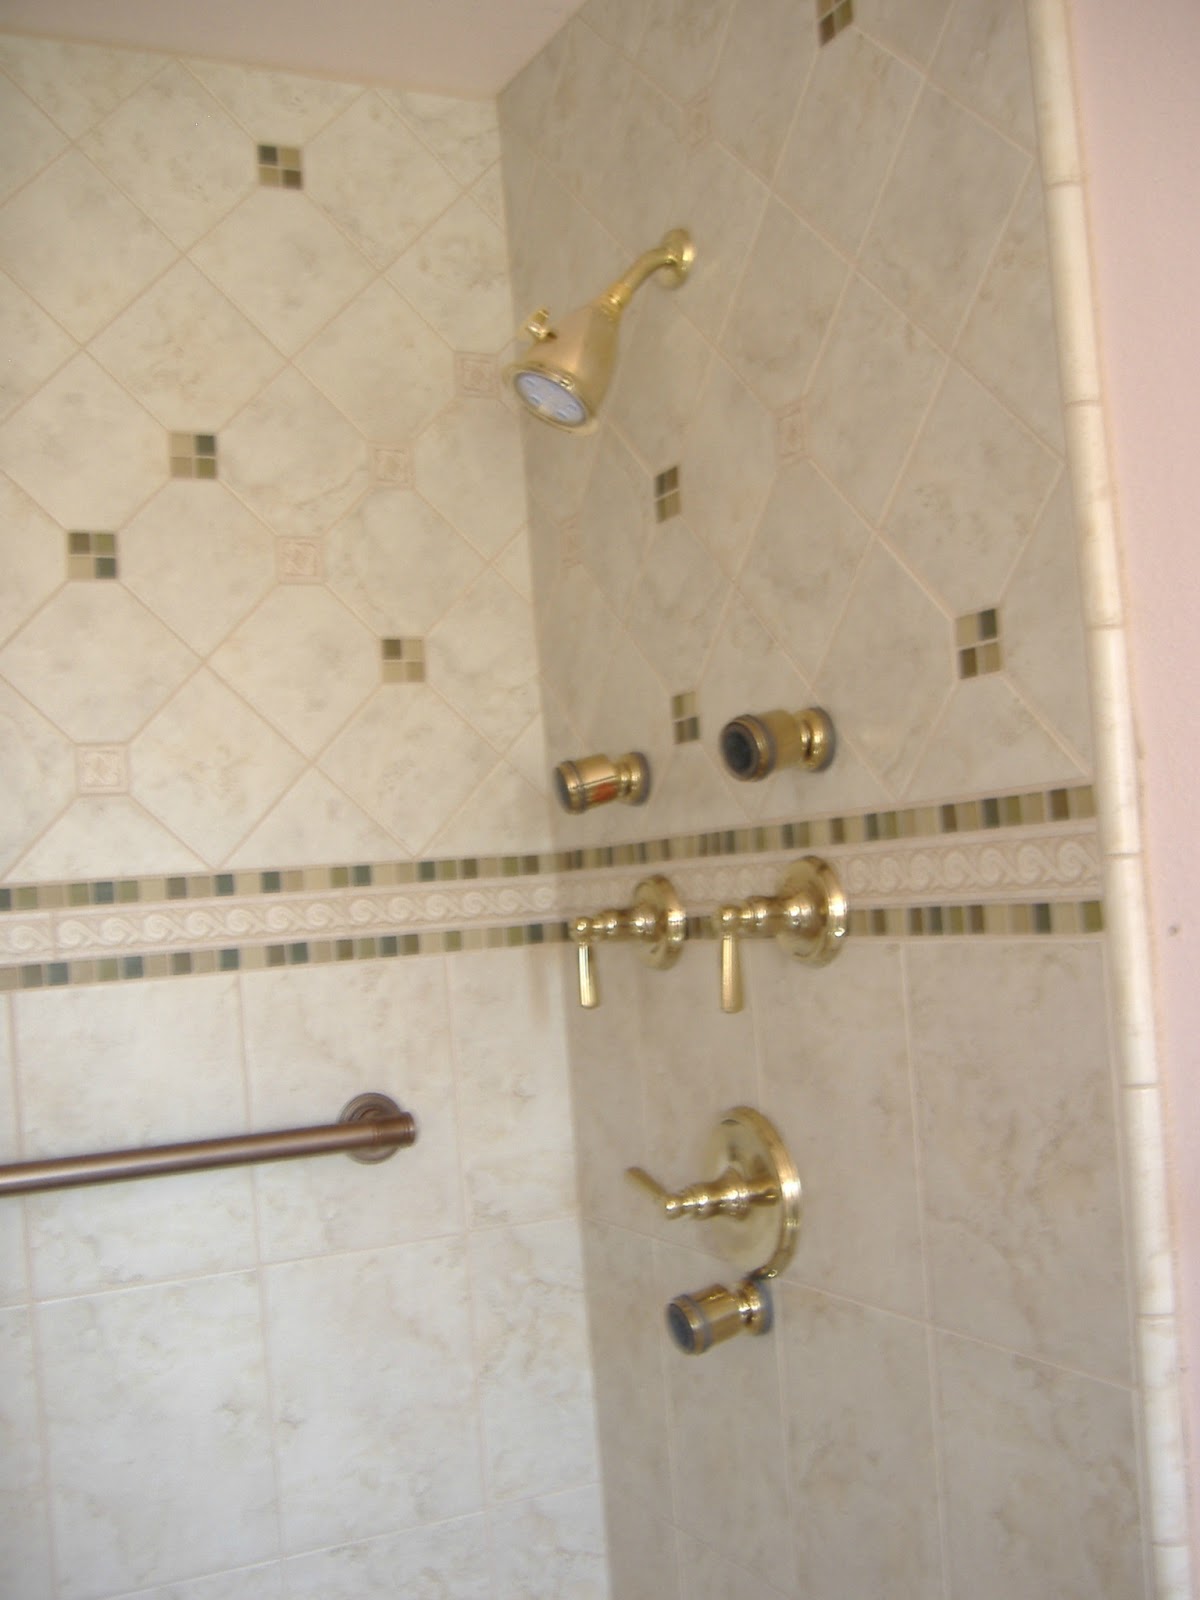


The finished product, with a foot rest to wash feet or shave legs. A grab bar and all the handles and sprayers installed.
This is the tryed and true method to install a shower, however modern technology has newer, methods, both faster and easier, in some ways better. The Germans are really cutting edge with their technology. They've come up with Wedi board and Schulter, this will be another post for another day.
Thank you! This was a very informative post on proper water proofing a shower and then installing ceramic tile.
ReplyDeleteThanks for sharing. I would love to learn more about the ceramic tile in Hamilton. I love how you show a shower from start to finish! This is great.
ReplyDeletePeople spend a lot of money on renovation and decoration of their homes as well as bath rooms. It is very easy to build a shower with the help of your tutorial. I am really wondered the way in which you describe this tutorial. Thank you so much for your outstanding work. Big thumbs up for your impressive job. You are really helping people to save their money in very simple way. marble polishing southbay
ReplyDelete